How to Prepare Your Pet Turtle for Brumation
Seeing your turtle slow down as the days get shorter can be worrying, especially when you’re not sure if it’s a natural hibernation or a sign of illness.
I’ve guided my own turtles, Austen and Bronte, through many brumation cycles, and that initial concern is completely normal. Getting this process right is one of the most important things we can do for their long-term health.
This article will walk you through the essential steps: recognizing the signs, scheduling a vet visit, the gradual fasting process, setting up the brumation habitat, and safely waking your turtle in the spring.
Understanding Brumation and Its Role for Turtles
Brumation is a natural resting period for many turtles, helping them conserve energy during cooler months when food is scarce. This process slows their metabolism and activity, mirroring wild survival instincts in a safe home environment. I’ve seen this firsthand with my tortoises Austen and Bronte, who become more subdued as temperatures drop, reminding me how crucial it is to support their biological rhythms. This is exactly the kind of topic covered in a complete guide to turtle brumation and hibernation. It offers practical steps to prepare, monitor, and ensure a safe, healthy rest period.
Key Differences Between Brumation and Hibernation
Many people mix up brumation and hibernation, but they serve different purposes for reptiles versus mammals. Brumation involves intermittent waking for water and slight movement, while hibernation is a deeper, continuous sleep. For instance, Orwell, my box turtle, might stir occasionally during brumation to drink, unlike hibernating animals that stay fully dormant. Here’s a quick breakdown of brumation vs hibernation in turtles:
- Brumation: Occurs in reptiles like turtles; metabolism slows but doesn’t stop entirely.
- Hibernation: Common in mammals; involves a near-complete shutdown of bodily functions.
- Activity Level: Turtles in brumation may still move or drink, whereas hibernating animals rarely do.
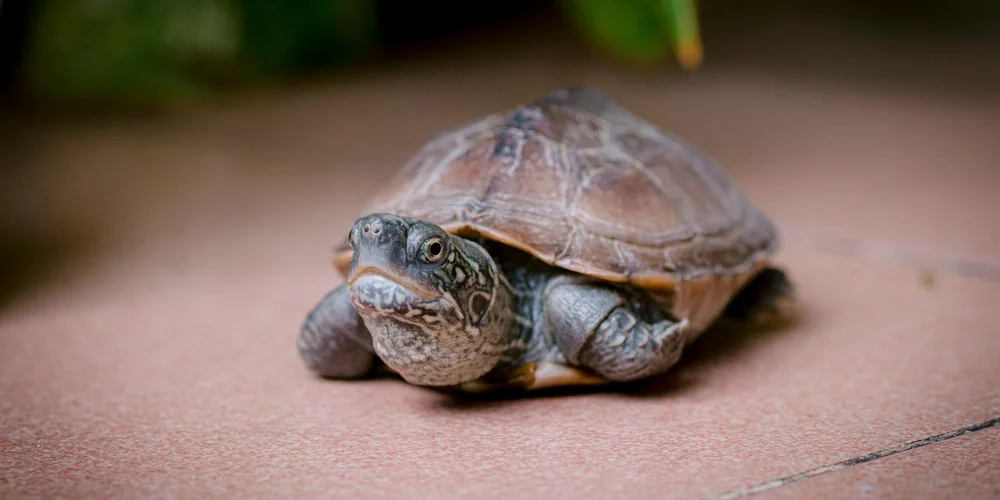
Common Signs Your Turtle Is Ready for Brumation
Recognizing the signs early helps you prepare without stress. Watch for reduced appetite and increased hiding, as these are clear indicators your turtle is winding down. With Bronte, my Greek tortoise, I notice she stops grazing and seeks out dark corners a few weeks before brumation kicks in. Keep an eye out for these typical behaviors: Signs your turtle is entering brumation and what to do.
- Eating less or refusing food altogether.
- Becoming lethargic and moving slowly.
- Spending more time buried or in sheltered spots.
- Cooler body temperature preferences, like avoiding heat lamps.
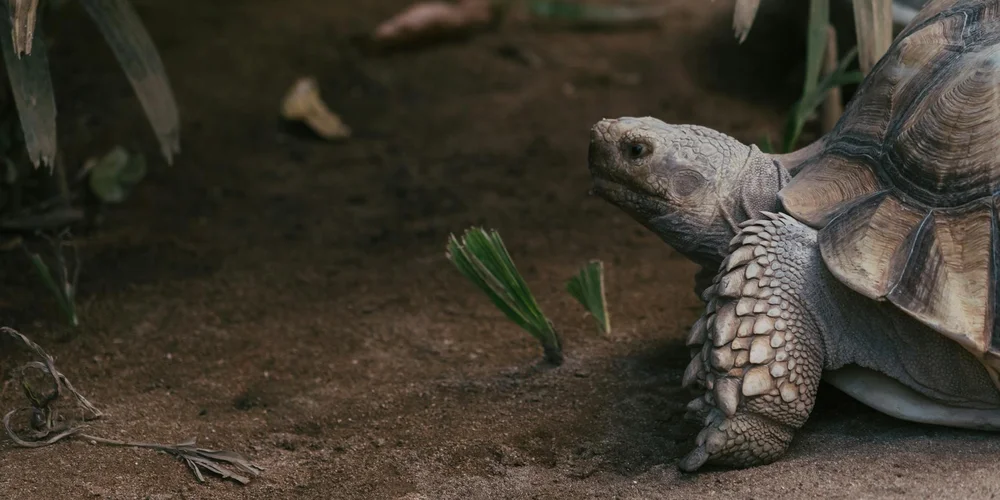
Assessing If Brumation Is Right for Your Turtle

Not every turtle needs to brumate, and forcing it can harm their health. Evaluate your turtle’s species, age, and overall condition to decide if brumation is a safe choice. From my experience, younger or sick turtles like Orwell when he was unwell should skip it to avoid unnecessary risks.
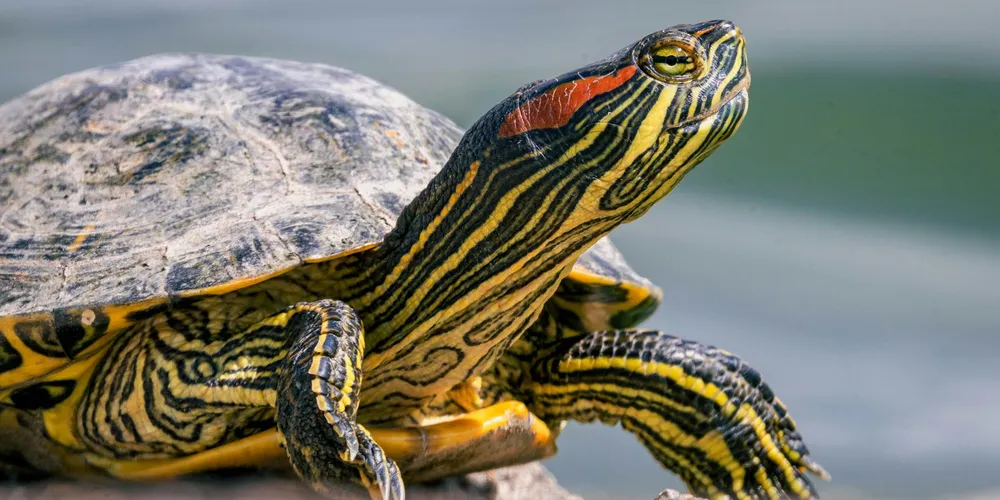
Species That Typically Brumate
Some turtle species are naturally inclined to brumate due to their origins. Russian and Greek tortoises, like Austen and Bronte, often benefit from this seasonal rest. If you own one of these, providing a brumation setup can support their well-being. Not every turtle species brumates in the same way, so species-specific guidance matters. Our brumation guide explains which turtles brumate and how to manage it safely for different species. Common species include:
- Russian Tortoises: Hardy and adapted to cooler climates.
- Greek Tortoises: Similar to Russians, with a graceful demeanor.
- Box Turtles: Like Orwell, they may brumate if kept in appropriate conditions.
- Other temperate species such as Hermann’s tortoises.
Risks of Skipping or Forcing Brumation
Ignoring or pushing brumation can lead to health issues like metabolic disorders or stress. Skipping it might cause weight gain or behavioral problems, while forcing it on an unfit turtle can weaken their immune system. I once rushed Bronte into brumation before she showed readiness, and she became listless-a lesson in patience and observation. Key risks to consider:
- Skipping Brumation: Potential for obesity or disrupted natural cycles.
- Forcing Brumation: Increased susceptibility to illness or dehydration.
- Long-term Effects: Can shorten lifespan or cause reproductive issues.
Setting Up the Ideal Brumation Environment
Temperature and Humidity Guidelines
Creating the right climate is your most important job for a successful brumation. I keep my tortoises, Austen and Bronte, in a dedicated refrigerator set to a steady 45-55°F (7-13°C). Consistency is far more critical than the exact number, as wild temperature swings can be fatal. You can also use an insulated box in a cool garage or basement, but you must monitor it daily with a reliable thermometer.
Humidity is the silent partner to temperature that many keepers overlook. The air shouldn’t be bone dry. I aim for a humidity level around 50-60% to prevent dangerous dehydration. A simple spray bottle misting of the substrate every few days maintains the moisture they’ll absorb through their skin. Too much humidity, however, invites respiratory infections, so balance is everything.
Selecting Substrate and Shelter for Safety
Your turtle needs a bed that holds moisture and allows for burrowing. I’ve found a deep layer of peat moss or coconut coir works wonderfully for my shelled friends. This substrate mimics the forest floor and holds humidity without getting soggy or moldy. Fill the container deep enough for your turtle to completely bury itself if it wishes; this provides a profound sense of security.
Don’t forget a simple hide box. Even in brumation, offering a sheltered spot reduces stress. I use a simple cardboard box or a plastic tub with an entrance hole cut out-it doesn’t need to be fancy, just safe and dark. This gives them a defined, secure space to settle into their long rest, much like my box turtle, Orwell, prefers.
Pre-Brumation Health and Feeding Preparations
Conducting a Pre-Brumation Health Check
Never, ever brumate a sick turtle. This is the golden rule. About 4-6 weeks before the planned start, schedule a check-up with a reptile-savvy veterinarian. A fecal exam to check for parasites is non-negotiable, as a hidden parasite load can become devastating during brumation. I do this for all my turtles every single year without fail.
At home, become a detective. Watch for clear eyes, a firm shell, and normal activity levels. Be on high alert for any signs of respiratory illness, like nasal discharge or wheezing, as these conditions can rapidly worsen in a cool environment. If there’s any doubt, skip brumation for the season and keep your pet warm and active; it’s always the safer choice.
Managing Feeding Cessation and Hydration
This step is about gently winding down your turtle’s digestive system. About two to three weeks before brumation, I stop offering all food. An empty gut is crucial to prevent food from rotting inside them during months of inactivity, which leads to a fatal condition. My Greek tortoise, Bronte, usually gets the hint and stops showing interest in food around this time anyway, which is especially important when considering a turtle’s brumation diet and behavior.
While you stop the food, you must not stop the water. Offer warm, shallow soaks for 20-30 minutes daily during this fasting period. These baths encourage your turtle to fully hydrate and pass any remaining waste from its system. I continue these soaks right up until the day I move them to their brumation setup, ensuring they begin their rest fully hydrated and clean.
Monitoring Your Turtle During Brumation
Signs of Trouble to Watch For
Keeping a close eye on your turtle during brumation is like watching over a sleeping friend-you want to ensure they stay safe and healthy. Regular checks every week or two can help you spot any red flags before they become serious issues. I learned this firsthand with Orwell, my box turtle, whose subtle changes in behavior once signaled a problem that needed quick attention.
Look for these warning signs that something might be amiss:
- Significant weight loss: A slight drop is normal, but if your turtle feels noticeably lighter or their shell seems sunken, it could mean dehydration or illness.
- Unusual discharge: Any mucus around the nose or eyes, or a foul smell, often points to respiratory infections.
- Lethargy beyond normal sleep: If your turtle isn’t responsive when gently touched or moved slightly, it might be in distress.
- Changes in shell or skin: Soft spots on the shell, discoloration, or sores can indicate poor health or improper brumation conditions.
Trust your instincts-if something feels off, it’s better to consult a vet than wait and hope it improves. With Bronte, my Greek tortoise, I once noticed her breathing seemed labored, and a vet visit confirmed a minor issue we caught early.
Always handle your turtle gently during checks to avoid stressing them. A calm approach helps you assess their condition without disrupting their natural rest cycle. This mindful monitoring supports their well-being and reinforces why animal welfare should always come first in pet care. To tell if your turtle is stressed, watch for signs of stress in turtles like rapid breathing, hiding, or refusing food. If you see these cues, minimize handling and consult a reptile veterinarian for help.
Post-Brumation Care and Reintegration
Reintroducing Food and Basking Spots
As your turtle wakes from brumation, think of it as helping them ease back into daily life slowly and gently. Rushing this process can shock their system, so patience is your best tool here. I remember with Austen, my Russian tortoise, taking it step by step made his transition smooth and stress-free. To safely wake your turtle from brumation, begin with gradual warmth and light to ease them back into activity. Let meals and handling come only as they show readiness.
Start by gradually reintroducing their environment and diet over a week or two:
- Offer small amounts of water first to rehydrate them, as they may be thirsty after weeks of minimal intake.
- Provide easy-to-digest foods like leafy greens or soaked pellets in tiny portions to avoid overwhelming their digestive system.
- Set up their basking area with a warm lamp, but keep the temperature slightly lower than usual at first, then increase it slowly.
- Monitor their appetite and activity-if they show interest, you can gradually add variety back into their meals.
Watch for signs they’re ready to eat, like increased movement or sniffing around their food dish. Bronte, for instance, always gives a slow, graceful nod when she’s hungry again, which tells me it’s time to offer her favorite greens.
Keep their habitat calm and predictable to reduce stress. A steady routine helps turtles readjust without feeling threatened or anxious. This careful reintegration not only supports their health but also deepens your bond, showing how much you value their comfort and safety.
Brumation Preparation Checklist
Getting your turtle ready for brumation is a step-by-step process. Rushing this can be dangerous, so follow this list methodically over several weeks. I learned this the careful way with my Russian tortoise, Austen, whose steady nature taught me the value of patience.
Health Assessment
Before anything else, you must be certain your turtle is a good candidate for brumation.
- Schedule a veterinary check-up: A clean bill of health from a reptile vet is non-negotiable. They can spot underlying issues you might miss.
- Ensure your turtle is at a healthy weight. An underweight turtle lacks the necessary fat reserves.
- Check for any signs of illness, like nasal discharge, swollen eyes, or lethargy that isn’t seasonally appropriate.
- Observe their behavior for at least two weeks prior. They should be active and eating normally before the wind-down begins.
Environmental Preparation
Creating the right setup is half the battle. The goal is to mimic the gradual cooling and darkening of their natural habitat. My box turtle, Orwell, is particularly sensitive to these changes, so I adjust his environment with extra care.
- Begin gradually reducing daylight hours by an hour each week.
- Slowly lower the ambient temperature in their enclosure over several weeks. A sudden drop can send them into shock.
- Prepare a dedicated brumation box or area. A simple plastic container with air holes works well.
- Fill the brumation box with a safe, moisture-retaining substrate like peat moss, coco coir, or clean topsoil.
- Ensure the final brumation location will stay at a stable, cool temperature, ideally between 40-55°F (4-13°C).
Dietary Wind-Down
This is one of the most critical steps for a safe brumation. A turtle with food in its digestive tract is at high risk for severe, life-threatening complications.
- Two weeks before the planned start date, offer their last full meal.
- For the following week, provide only small, easy-to-digest snacks if they show interest.
- One week before brumation, stop offering food completely.
- Continue to provide warm, shallow soaks daily during this fasting period to encourage them to clear their bowels.
Do not proceed until you are confident their system is empty. This process ensures their welfare is the top priority throughout their long rest.
FAQs
How long does the brumation period usually last for pet turtles?
Brumation typically lasts from a few weeks to several months, depending on the species and environmental conditions. Most pet turtles will brumate for 2-4 months during the cooler seasons.
Can turtles brumate in groups, or should they be separated?
It’s generally safer to brumate turtles individually to monitor each one’s health and prevent stress or aggression. Group brumation can be done if they are compatible, but close observation is essential to ensure all are thriving. Avoiding common mistakes during brumation is crucial for their well-being.
What are the signs that brumation is ending naturally?
Natural signs include increased movement, interest in surroundings, and a gradual return of appetite. You might notice your turtle becoming more active and seeking out warmer areas as they prepare to wake up.
Is it necessary to wake my turtle for water or food during brumation?
No, you should not wake your turtle for food or water, as they are designed to fast and hydrate intermittently on their own. Disturbing them can cause stress and disrupt their natural cycle; only check for health issues if concerned.
How do I handle a turtle that refuses to brumate?
If your turtle shows no signs of readiness, keep them in their normal warm habitat and continue regular care without forcing brumation. Consult a vet to rule out health issues, as some turtles may not need to brumate every year.
Your Turtle’s Brumation Journey Awaits
Preparing your turtle for brumation boils down to two main actions: getting a clean bill of health from a reptile-savvy vet and gradually creating a cool, quiet, and undisturbed environment. This careful process ensures your turtle enters its long sleep safely and emerges healthy in the spring.
Remember, responsible turtle care means closely observing your pet throughout this period and being ready to adjust your approach if needed. Committing to continuous learning about their specific needs is the greatest gift you can give your shelled companion for a long, thriving life.
Further Reading & Sources
- Turtle Brumation: The Benefits & Dangers Of The Hibernation Cycle
- Brumation in Turtles and Tortoises | Taking Caring of Reptiles
- Three-Toed Box Turtle Brumation – Reptiles Magazine
- Turtles Don’t Hibernate, They Brumate. | PBS North Carolina
Matthew is a dedicated turtle enthusiast and conservationist with over 15 years of experience in reptile care. Known affectionately as "The Leatherback" among his peers, he combines his passion for turtles with a commitment to educating pet owners on responsible turtle care and environmental stewardship.
Winter Care