
Common Turtle Care Mistakes and How to Avoid Them
You want to give your turtle the best life possible, but sometimes the most well-intentioned care can accidentally lead to health problems. I’ve seen it happen, and I’ve made a few missteps myself with my own shelled companions over the years.
This guide will cover improper habitat setup, inadequate diet, poor water quality, incorrect lighting, and ignoring health warning signs. We’ll turn those common oversights into confident, correct care.
Setting Up a Home That Feels Like the Wild
One of the most frequent missteps I see is treating a turtle’s home like a fishbowl. A cramped tank is a source of chronic stress, leading to stunted growth and a weakened immune system. My Russian tortoise, Austen, once outgrew his first enclosure so quickly it taught me a vital lesson: always plan for the adult size from day one.
Getting the Tank Size Just Right
For aquatic turtles, a simple rule of thumb is 10 gallons of water per inch of shell length. But that’s just the starting point. So, how much water does a turtle tank need? For most aquatic turtles, depth that allows full immersion and easy swimming is important. You must measure your turtle from the front to the back of its shell for an accurate size. For my box turtle, Orwell, who is more terrestrial, a long, low tank that allows for ample walking is far more important than water depth.
- Hatchlings (under 4 inches): Start with a 40-gallon breeder tank to allow for growth.
- Juveniles (4-6 inches): Upgrade to a 75-gallon tank.
- Adult turtles (6+ inches): A 125-gallon tank or larger is often necessary for their well-being.
Crafting the Perfect Basking Spot
A proper basking area is non-negotiable. It’s where your turtle regulates its body temperature and dries off completely to prevent shell rot. I watched my Greek tortoise, Bronte, become far more active and graceful once I perfected her basking spot. It needs to be easily accessible, completely dry, and warm. You can find useful tips on making such areas for your pet at How to Create Basking and Hiding Areas for Turtle Well-being.
- Choose a sturdy platform or rock that sits partially in and out of the water.
- Ensure the surface is rough enough for their claws to grip easily.
- Position a dedicated heat lamp directly overhead to create a warm zone of 85-95°F.
Beyond the Basics: Essential Enclosure Items
Size and a basking spot are the foundation, but a truly enriching home needs more. Think of it as creating a miniature ecosystem, not just a container.
- A powerful canister filter rated for 2-3 times your tank’s volume.
- Substrate like large, smooth river rocks (too big to swallow) or a sand-soil mix for burrowing species.
- Hiding places, such as half-logs or terracotta pots on their side, to provide security.
- Live or silk plants (never fake plastic ones that can be eaten) for enrichment and cover.
Creating the Perfect Climate in Their Enclosure
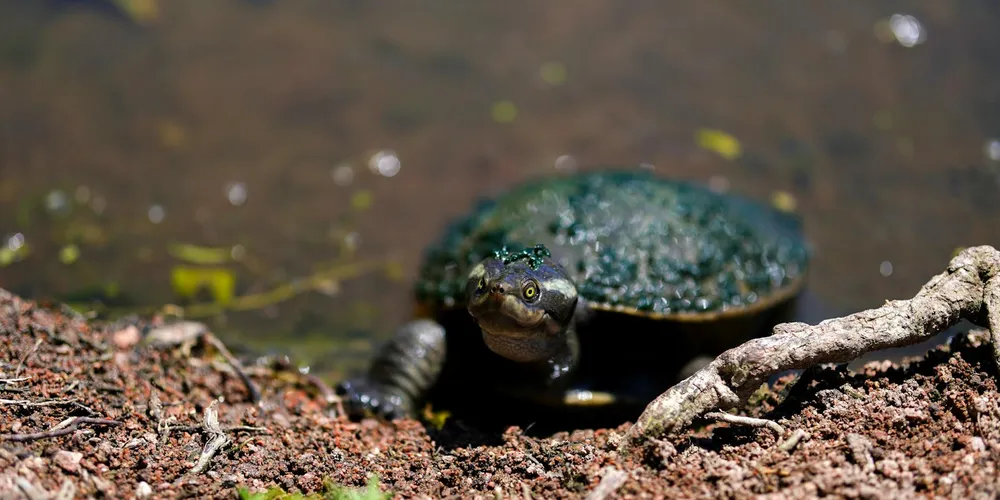
Replicating the right climate is perhaps the most technical part of turtle care, and getting it wrong has silent consequences. Incorrect temperatures can shut down their digestion, while a lack of UVB directly leads to metabolic bone disease, a painful and debilitating condition. I learned this the hard way early on, and now I’m meticulous about my setup.
The Problem with Poor Temperature and Humidity
A tank with a single, uniform temperature is like being stuck in a room with no climate control. Turtles are ectotherms; they rely on external heat sources to function. Without a warm basking area, they cannot properly digest their food. Without a cooler area to retreat to, they become overheated and stressed. Improper humidity, especially for species like my Russian tortoise, can cause pyramiding of the shell and respiratory infections.
Why Lighting is a Matter of Life and Health
This is non-negotiable. A basking lamp provides heat. A UVB lamp provides the invisible light rays necessary for your turtle to synthesize vitamin D3, which allows them to absorb calcium. No UVB means no calcium absorption, no matter how much calcium powder you sprinkle on their food. It’s that critical for strong bones and a healthy shell. That’s why UVB lighting for turtles is critical and must be set up correctly from day one. Without proper UVB setup, calcium absorption and bone health can suffer.
Your Step-by-Step Habitat Climate Guide
- Establish the Temperature Gradient: Place the heat lamp at one end of the enclosure to create a hot basking zone (85-95°F). The opposite end should be the cool zone, 10-15 degrees cooler.
- Install the UVB Lamp: Use a fluorescent tube-style UVB light that spans about half to two-thirds the tank’s length. Position it alongside the basking lamp, about 10-12 inches above the basking platform.
- Set a Day/Night Cycle: Use a simple timer to run both lamps for 10-12 hours a day. At night, turn them off. If your home gets very cold, a ceramic heat emitter (which produces no light) can provide nighttime warmth.
- Monitor Humidity: For species that need it, use a digital hygrometer. Increase humidity by misting the enclosure, adding a larger water dish, or using a moisture-retaining substrate.
The Essential Climate Control Toolkit
To do this right, you need the right tools. Guessing doesn’t work. Accurate monitoring is the key to preventing health issues before they start.
- Two digital thermometers (one for the basking spot, one for the cool side).
- A digital hygrometer to measure humidity.
- A dedicated heat lamp (incandescent or halogen bulb) in a ceramic-based dome fixture.
- A high-output UVB fluorescent tube (5.0 or 10.0, depending on species) in a reflective fixture.
- Automatic timers for your lights to ensure a consistent daily cycle.
Keeping Their Water World Pristine
I learned the hard way with my first turtle, Bronte, that cloudy water isn’t just an eyesore; it’s a health hazard. Poor water quality is a silent, slow-moving threat that can lead to shell rot, skin infections, and serious respiratory illnesses. Turtles eat, sleep, and defecate in their water, turning it into a bacterial soup if we’re not diligent. That experience inspired me to create a filtration maintenance troubleshooting guide to explain why my turtle water always gets dirty and how to fix it. It walks through simple checks and routine care to keep water clear and safe.
Your Water Change Schedule Made Simple
A strict schedule keeps your turtle’s environment healthy without feeling overwhelming.
- Partial Water Changes (25-50%): Do this every single week. I use a simple siphon to vacuum the substrate while removing the dirty water, which makes it a quick, two-in-one task.
- Full Water Changes: Perform a 100% water change and complete tank scrub-down once a month. This is when you’ll clean all decorations and scrub the tank walls to prevent algae buildup.
Choosing and Maintaining Your Filter
The filter is the kidney of your turtle’s aquarium. For turtles, you need a filter rated for two to three times the actual volume of your tank. Turtles are much messier than fish. I use canister filters for my aquatic setups because they offer superior mechanical, chemical, and biological filtration. That brings up one more comparison for turtle habitats: canister versus internal filters. In most cases, canister filters handle the messier waste from turtles and provide more filtration options, while internal filters can be simpler and cheaper for small tanks.
Filter maintenance is non-negotiable. Rinse the filter media in old tank water you’ve siphoned out during a water change. Never use tap water, as the chlorine will kill the beneficial bacteria that keep the water safe. Do this rinse every two to four weeks, depending on how quickly it clogs.
Your Cleaning Task Checklist
Break down the chores to make them effortless.
Weekly Tasks
- Siphon waste from the substrate.
- Perform a 25-50% water change.
- Wipe down the glass inside and out.
- Check water temperature.
Monthly Tasks
- Perform a 100% water change.
- Remove and scrub all tank decorations.
- Clean the filter media in old tank water.
- Inspect all equipment (heaters, lamps) for function.
Feeding for a Long and Healthy Life
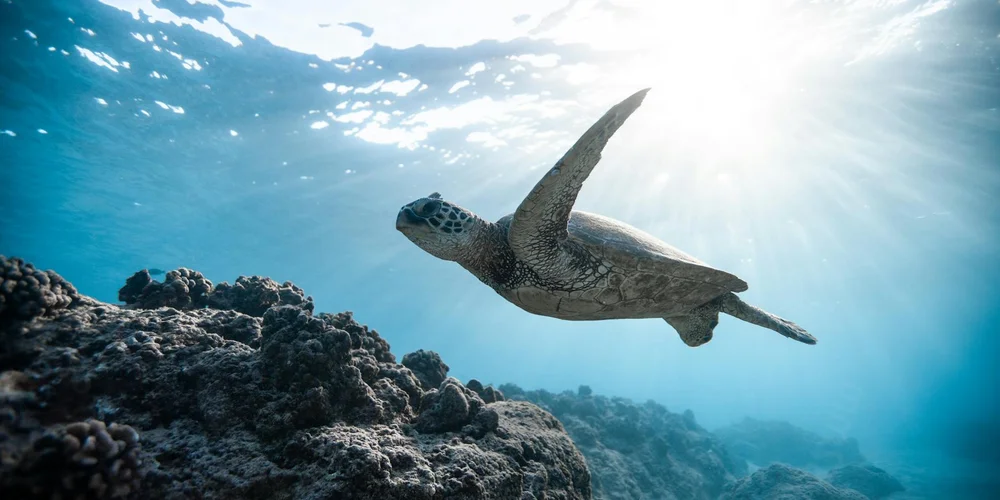
Watching my Russian tortoise, Austen, eagerly approach his food bowl is a joy, but overfeeding is a common mistake born from love. Overfeeding leads to pyramiding of the shell, obesity, and fatty liver disease, drastically shortening a turtle’s lifespan. An improper diet is just as dangerous, creating nutritional deficits that weaken their entire system. It’s essential to know how to tell if your turtle is overweight.
Aquatic vs. Terrestrial Diets: A Critical Difference
This is where many owners get tripped up. Their needs are fundamentally different.
- Aquatic Turtles (like my friend’s Red-Eared Slider): Adults are primarily omnivorous but lean heavily toward vegetation. Juveniles need more protein. Too much protein in an adult’s diet causes rapid, distorted shell growth and kidney problems.
- Terrestrial Turtles & Tortoises (like my Greek tortoise, Bronte): These are almost entirely herbivorous. They require a high-fiber, low-protein diet of leafy greens and grasses. Feeding them animal protein or high-protein vegetables like peas can cause severe digestive and shell issues.
The Supplementation You Can’t Skip
Even with the best fresh foods, supplementation is essential for captive turtles.
Calcium is the cornerstone of a strong shell and skeleton. I lightly dust my turtles’ food with a pure calcium powder (without Vitamin D3 if they have a proper UVB light) two to three times a week. For my box turtle, Orwell, who needs a slightly more varied diet, I also offer a cuttlebone to gnaw on.
Vitamin A deficiency is another common and preventable problem, often seen as swollen eyelids. Feeding dark, leafy greens like dandelion greens and collard greens regularly provides the beta-carotene their bodies convert to Vitamin A. Avoid iceberg lettuce, as it’s mostly water and has no nutritional value.
A Sample Feeding Schedule & Safe Food List
Consistency is key. Here is a simple routine I follow.
| Turtle Type | Frequency | Portion Guide |
|---|---|---|
| Adult Aquatic | Every Other Day | An amount of greens & pellets equal to the size of their head. |
| Juvenile Aquatic | Daily | A portion of protein-rich pellets the size of their head, plus occasional greens. |
| Terrestrial/Tortoise | Daily | A large pile of mixed leafy greens the size of their shell. |
Safe and Nutritious Foods
- For Aquatic Turtles: Romaine lettuce, dandelion greens, duckweed, commercial turtle pellets, occasional earthworms or crickets.
- For Terrestrial Turtles/Tortoises: Collard greens, turnip greens, mustard greens, endive, hibiscus leaves and flowers, grated squash.
Spotting Health Issues Before They Become Crises
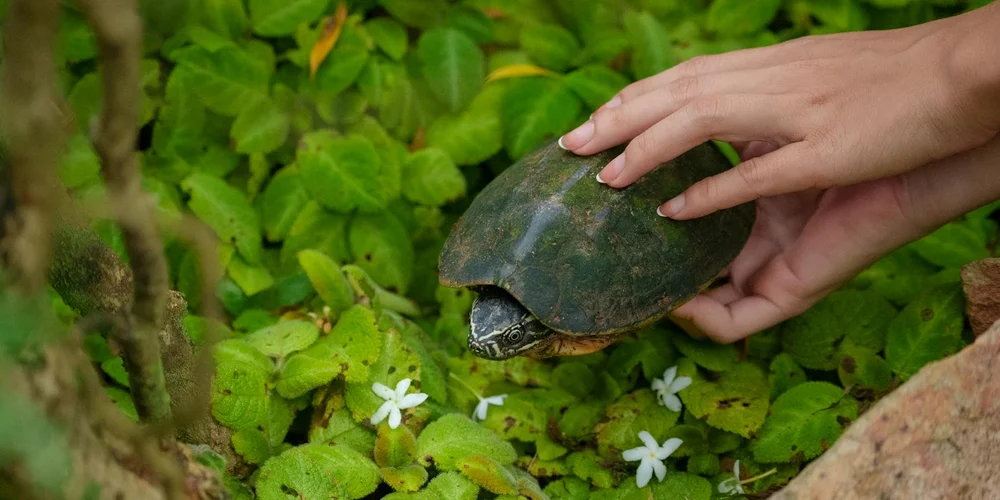
Keeping your turtle healthy means watching for small changes that can signal big problems. Early detection turns potential disasters into manageable fixes, saving you and your pet from unnecessary stress. I’ve learned this through years with my own turtles, like Austen, whose steady nature once masked a subtle health shift.
Recognizing Early Signs of Shell Rot and Other Ailments
Shell rot often starts with discolored patches or a soft, spongy feel on the shell. If you notice a foul smell or flaking, it’s time to act fast before it worsens. My Greek Tortoise Bronte once had a small dark blotch that I caught early, and with proper care, it healed without issue. Other common issues include:
- Respiratory infections: Look for bubbly noses or labored breathing.
- Eye problems: Swelling or discharge can indicate vitamin deficiencies.
- Lethargy or loss of appetite: These might point to underlying illnesses.
Risks of Parasites and the Importance of Regular Vet Check-Ups
Parasites like worms can sneak in through contaminated food or water, causing weight loss or diarrhea. Annual vet visits are non-negotiable for catching these invaders early. Orwell, my Box Turtle, had a parasite scare that a routine check-up caught-it taught me that prevention beats cure every time.
What Temperature Shock Looks Like and How to Prevent It
Temperature shock shows up as shivering, hiding, or refusing to eat. Maintain a steady habitat with proper heating to avoid sudden chills or overheating. Think of it like a cozy blanket for your turtle; consistency keeps them comfortable and active.
Low but Present Zoonotic Risk and Good Hygiene Practices
Turtles can carry bacteria like salmonella, though the risk is minimal with care. Always wash your hands after handling your turtle or cleaning their space to protect both of you, and follow safe handling practices. I make it a habit to scrub up after feeding Austen, ensuring our bond stays safe and healthy.
Fostering a Happy and Stress-Free Turtle
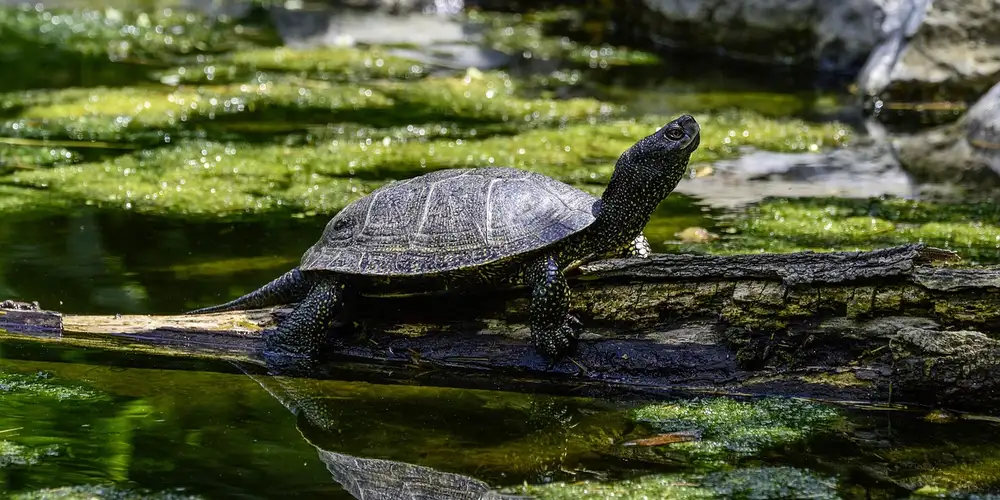
A calm turtle is a thriving turtle, and reducing stress boosts their well-being immensely. Creating a peaceful environment helps your pet feel secure and content, much like a quiet retreat by the ocean. From my experience with Bronte’s graceful demeanor, I’ve seen how small adjustments make a big difference.
Impact of Handling Stress and How to Interact Properly
Overhandling can scare your turtle, leading to hiding or aggression. Limit interactions to short, gentle sessions and always support their shell fully. I let Austen approach me first, building trust slowly over weeks.
Importance of Enrichment to Prevent Boredom and Stress-Related Behaviors
Boredom causes pacing or shell-biting, so add variety to their habitat. Rotate toys, hideouts, and terrain to keep their minds engaged and bodies active. Orwell loves exploring new rock piles, which mimics his natural curiosity.
Complexities of Tank Mates and the Risk of Aggression
Mixing turtles can lead to fights over space or food. Stick to solitary setups or carefully researched pairs to avoid injuries. Bronte prefers her own company, and I’ve seen how stress drops when she has her dedicated area.
Gentle, Positive Interactions That Build Trust
Focus on calm, rewarding activities that strengthen your bond. These small gestures teach your turtle that you’re a source of safety and joy. Try these methods I use with my pets: These steps also help you train and bond your pet turtle over time. With patience and consistency, you can build trust and make training enjoyable for both of you.
- Hand-feeding favorite treats to associate you with positive experiences.
- Talking in a soft voice during feedings to acclimate them to your presence.
- Observing without touching to let them explore at their own pace.
FAQs
What are common turtle care mistakes?
Common mistakes include overfeeding, which leads to obesity and shell issues, and neglecting UVB lighting, causing metabolic bone disease. Other errors involve improper tank sizing and poor water quality, resulting in stress and health problems.
How can I prevent these mistakes?
Research your turtle’s specific needs for diet, habitat, and lighting to provide tailored care. Regularly monitor water quality, temperatures, and behavior to catch issues early and adjust your routine accordingly. Run a quick habitat checklist to diagnose lighting, heat, and water conditions. Then adjust the setup to ensure perfect lighting, appropriate heat, and clean water.
What are signs of shell rot or disease from care mistakes?
Watch for discolored, soft, or foul-smelling patches on the shell, which indicate shell rot. Additional signs include lethargy, swollen eyes, or labored breathing, signaling underlying health issues from poor care.
Your Journey to Better Turtle Care
By focusing on a proper habitat setup and a well-balanced, species-appropriate diet, you lay the foundation for a long and healthy life for your shelled friend. Consistency in their environment and nutrition is the single most powerful thing you can do to prevent common health issues.
Remember that responsible pet ownership is an ongoing commitment to learning and adapting as your turtle’s needs change. Your dedication to understanding their unique world is the greatest gift you can give them, strengthening that special bond for years to come. To build trust with your new pet turtle, take time for gentle, consistent interactions and provide a calm, predictable routine. Patience and gentle handling help them feel safe and secure as they acclimate to their new home.
Further Reading & Sources
- The Dos and Don’ts of Turtle Care – PetHelpful
- 9 Common Mistakes Made by Turtle Parents and How To Avoid Them | PetMD
- 5 Common Turtle Care Mistakes – Turtle Rescue League
- these turtle care mistakes need to STOP (things to avoid and care tips) – YouTube
Matthew is a dedicated turtle enthusiast and conservationist with over 15 years of experience in reptile care. Known affectionately as "The Leatherback" among his peers, he combines his passion for turtles with a commitment to educating pet owners on responsible turtle care and environmental stewardship.
Preventative Care