The Complete Guide to Hatchling Turtle Care: From Incubator to Tank
Starting with a hatchling turtle can feel daunting, especially when you’re concerned about their fragile beginnings and whether you’re providing everything they need to thrive.
This guide covers incubation, hatching support, tank setup, feeding routines, health monitoring, and common pitfalls to avoid.
Setting Up Your Hatchling Turtle Incubator
Choosing the Right Incubator
-
Select an incubator size based on how many eggs you plan to hatch. For a small clutch of 5-10 eggs, a compact model around 10-20 liters works well. Larger setups need more space to prevent overcrowding. I’ve used both commercial and DIY incubators over the years. Commercial options often provide better stability, which is vital for delicate turtle eggs.
-
Automatic egg turners gently rotate eggs multiple times daily, mimicking natural nest movements. Manual turning requires you to carefully twist eggs by hand once or twice a day. From my experience, automatic systems reduce human error. Manual methods demand consistent attention, so choose based on your schedule and commitment level.
-
Look for incubators with digital thermostats and hygrometers for precise control. Temperature fluctuations can harm development, and humidity levels prevent eggs from drying out or molding. Features like audible alarms for temperature drops have saved many of my clutches from potential issues.
Maintaining Ideal Incubation Conditions
-
Set temperatures between 80-85°F for most common species like red-eared sliders. For map turtles, aim for 82-86°F, as slight variations influence sex in some types. Always research your specific turtle’s needs to avoid developmental problems. Nighttime temperatures deserve attention too. A quick nighttime heat management guide can help you maintain a safe day-night cycle in your turtle enclosure.
-
Monitor humidity with a reliable hygrometer, keeping it around 70-80%. Adjust by adding water trays or ventilation. I check levels twice daily to ensure consistency. Too much moisture encourages mold, while too little causes egg shrinkage and failed hatches.
-
Signs of healthy development include eggs feeling firm and showing visible veins when candled with a flashlight after 2-3 weeks. Infertile eggs may appear discolored or collapse. Regular candling helps you track progress and remove any bad eggs early on.
The First Critical Days After Hatching
Handling New Hatchlings
-
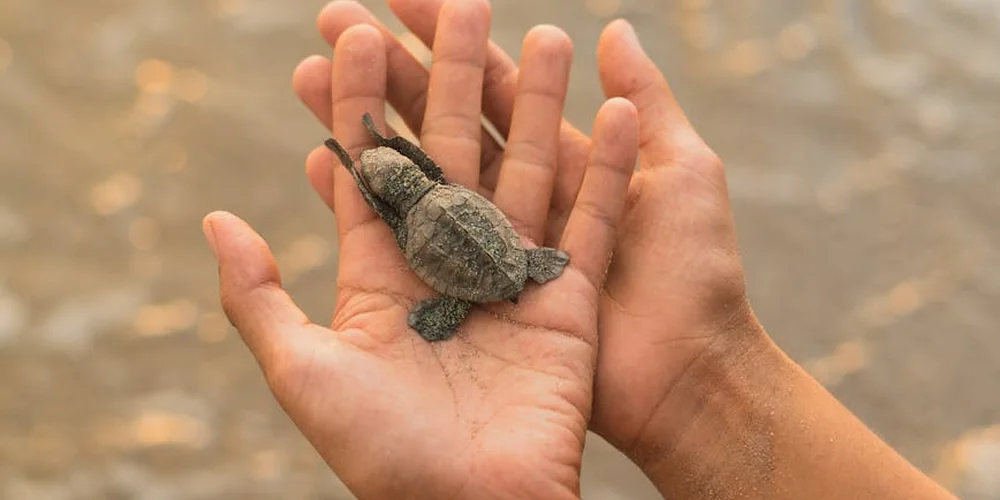
Use clean, damp hands to support the hatchling’s entire body, avoiding sudden movements. I’ve found that speaking softly and working in a calm environment keeps them relaxed. Limit handling to essential tasks to prevent stress-induced health issues.
-
Move hatchlings to their enclosure only after the yolk sac fully absorbs, usually within 1-2 days. Gently place them in a shallow, warm area with easy access to water. Rushing this step can lead to infections or difficulty adapting.
-
Conduct a quick health check by observing their activity, shell symmetry, and eyes for clarity. Look for any signs of lethargy or abnormalities. Early detection of problems, like soft shells, allows for prompt care and better outcomes.
Initial Feeding and Hydration
-
Offer finely chopped greens, small insects like pinhead crickets, or commercial hatchling pellets soaked in water. I often start with live brine shrimp to stimulate appetite. Softer foods are easier for them to eat and digest in those first vulnerable days.
-
Establish a feeding schedule of small meals once or twice daily. Adjust based on their appetite and growth. Consistent routines help hatchlings settle in and thrive without overfeeding.
-
Supplement with calcium powder dusted on food 2-3 times a week and a multivitamin once weekly. This supports strong shell and bone development. Proper supplementation is non-negotiable for preventing common issues like metabolic bone disease.
Creating the Perfect Hatchling Turtle Habitat
Tank Selection and Setup
Start with a 10 to 20-gallon tank for most hatchling species, ensuring it has enough horizontal space for swimming and exploring. A spacious tank reduces stress and supports healthy growth from the start. I learned this when setting up for my box turtle Orwell; even terrestrial species need room to move, and aquatic hatchlings thrive with ample swimming area. Choosing the perfect tank size and shape for your aquatic turtle sets the stage for its daily activity and long-term health. This thoughtful sizing helps ensure adequate swimming space, basking, and easier maintenance.
- Clean the tank with warm water and a reptile-safe cleaner, avoiding harsh chemicals.
- Place the tank on a stable, level surface away from direct sunlight and drafts.
- Add a secure lid to prevent escapes and maintain humidity.
- Install a low-flow filter to keep water clean without creating strong currents.
- Set up a basking area with a ramp for easy access.
Choose substrates like fine sand or smooth, large-grade gravel to mimic natural riverbeds. Soft substrates prevent injuries to delicate shells and tiny feet. Keep the depth around 1 to 2 inches to minimize the risk of ingestion, which I’ve seen cause issues in younger reptiles.
Water Environment Management
Set the water depth to about 1.5 times the hatchling’s shell length, allowing them to touch the bottom comfortably while swimming. Shallow water prevents exhaustion and drowning in energetic little turtles. Turtles can drown if safety basics are ignored, so understanding aquatic turtle safety is essential. Keeping the water shallow and supervised is a simple, practical way to prevent tragedy. Observing my tortoises navigate their habitats taught me that even small changes in depth make a big difference in safety.
Maintain water temperature between 75°F and 80°F using an adjustable aquarium heater. Stable warmth encourages natural behaviors like feeding and basking. I check temperatures daily with a digital thermometer, just as I do for Austen’s enclosure, to ensure consistency.
Perform partial water changes of 25-50% weekly, using a siphon to remove waste without disturbing the hatchling. Regular changes keep the environment fresh and reduce toxin buildup. This routine, inspired by caring for multiple reptiles, helps prevent common health issues in sensitive young turtles. Pair these changes with a simple water quality testing routine as part of a regular maintenance schedule. Test for ammonia, nitrite, nitrate, and pH weekly to catch spikes early.
Essential Lighting and Basking Setup
UVB Lighting Requirements
-
UVB light is non-negotiable for your hatchling’s shell and overall health. It allows them to synthesize vitamin D3, which is essential for absorbing calcium and preventing soft shells or deformities. From my experience with Bronte, my Greek Tortoise, I’ve seen how consistent UVB exposure keeps her shell strong and vibrant, much like how sunlight nourishes plants in a garden.
-
Aim for 10 to 12 hours of UVB exposure daily to mimic natural daylight cycles. This routine supports their internal clocks and prevents stress. I use a timer for Austen’s setup, ensuring he gets reliable light without overexposure, which can be just as harmful as too little.
-
Place the UVB fixture 12 to 18 inches above the basking area, ensuring no barriers like glass block the rays. Glass filters out most UVB, so direct exposure is key. I learned this early on with Orwell; adjusting the distance made a noticeable difference in his activity and shell condition.
Basking Area Configuration
-
Design basking platforms that are low, stable, and easy for hatchlings to climb. Use materials like smooth slate or reptile-friendly ramps to prevent slips and injuries. For my tortoises, I’ve crafted gentle slopes that feel like a natural riverbank, encouraging them to bask safely without struggle.
-
Maintain the basking spot temperature between 85°F and 95°F to support digestion and immune function. A digital thermometer helps you monitor this closely. I check Bronte’s area daily; if it’s too cool, she becomes lethargic, but just right, and she’s full of energy.
-
Operate basking lights on a 12-hour cycle, aligning with daytime hours for consistency. This regularity reduces stress and mimics their natural habitat. I’ve found that a simple timer keeps Austen’s routine predictable, much like the rising and setting sun in the wild.
Daily Hatchling Turtle Care Routine
Your day with a new hatchling is a gentle rhythm of feeding, cleaning, and observing. Consistency in this routine builds trust and provides the security your tiny turtle needs to thrive. I’ve found that keeping a simple log for my own turtles, Austen and Bronte, helped me spot patterns and catch small issues before they became problems. During a hatchling’s first year, that steady routine matters even more as they grow and develop. Your notes will help you spot slow growth or shifts in appetite early and keep them on track.
Feeding Schedule and Diet
Hatchlings are growing rapidly and need frequent, nutrient-rich meals. A balanced diet is the single most important factor for healthy shell and bone development. I learned this through trial and error with my first turtle, Orwell, who taught me the importance of variety.
- Create balanced meal plans using high-quality commercial pellets as a staple, supplemented with finely chopped greens like dandelion and small, gut-loaded insects. I always dust insects with a calcium powder twice a week for my Greek tortoise, Bronte.
- Determine appropriate feeding frequency by offering small meals once or twice daily. A good rule is to provide an amount of food roughly the size of your hatchling’s head and shell combined. They have fast metabolisms but tiny stomachs.
- Monitor eating habits and adjustments closely. If your turtle consistently leaves food, you are likely offering too much. A sudden loss of appetite can be the first sign of illness or a water quality issue, so keep a watchful eye.
Enclosure Maintenance
A clean habitat is a non-negotiable part of hatchling care. Their immature immune systems are highly susceptible to bacteria and fungi that thrive in dirty water. I treat tank cleaning not as a chore, but as a quiet, meditative act of care for my shelled friends.
- Establish cleaning and disinfecting routines by performing partial water changes of 25-50% at least twice a week. Use a siphon to vacuum waste from the substrate. Every month, do a deep clean of the entire tank, scrubbing decorations with a reptile-safe disinfectant.
- Monitor water quality parameters rigorously. Test for ammonia and nitrite levels weekly; they should always be at zero. Even a slight spike can be fatal. I keep a testing kit right next to Austen’s tank to make this habit effortless.
- Identify and remove safety hazards during each cleaning. Check for sharp edges on decorations, ensure the basking platform is secure and cannot trap your turtle underneath, and confirm all electrical cords for heaters and filters are completely out of reach.
Health Monitoring and Problem Prevention

Recognizing Early Health Issues
-
Watch for lethargy, loss of appetite, or swollen eyes in your hatchling, as these can signal common illnesses. From my time with Orwell, I noticed his reserved nature meant any change in activity was a clue; if he stopped exploring, I knew to check his health closely.
- Lethargy or unusual inactivity
- Refusal to eat or drink over a day
- Swollen, closed, or watery eyes
- Nasal discharge or bubbly breathing
- Soft or discolored shell spots
-
Gently run your fingers over the shell to feel for firmness and smoothness, checking for any soft areas or pyramiding. With Austen, I do this weekly; a healthy shell should feel like a sturdy, well-worn stone, not spongy or uneven, which could mean diet or lighting issues.
- Press lightly to detect soft spots-avoid hard pressure
- Look for symmetrical growth and absence of cracks
- Monitor for abnormal lifting or discoloration
-
Notice if your hatchling hides constantly, stops basking, or shows aggression, as behavior shifts often precede sickness. Bronte’s graceful movements slow down when stressed; I’ve learned that prolonged hiding or lack of interest in surroundings demands a quick environment check to prevent bigger problems.
- Increased hiding or refusal to come out
- Reduced basking time or avoiding heat sources
- Unusual aggression or lethargy during handling
Preventative Care Measures
-
Isolate new hatchlings in a separate tank for at least 30 days to monitor for hidden illnesses. When I brought Orwell home, this quarantine period let me ensure he wasn’t carrying parasites or infections that could spread, giving me peace of mind before introducing him to others.
- Use a simple, easy-to-clean setup with basic furnishings
- Observe eating, drinking, and behavior daily
- Keep equipment separate to avoid cross-contamination
-
Maintain humidity between 50-70% for land species using a hygrometer and regular misting. For Austen and Bronte, I mimic their natural habitats with a light daily spray; the damp, earthy air helps prevent shell issues and keeps them comfortable, much like a gentle ocean breeze.
- Mist the enclosure once or twice daily with clean water
- Use a substrate that holds moisture, like coconut coir
- Avoid over-humidifying to prevent respiratory problems
-
Add rocks, hides, and safe plants to encourage natural behaviors and reduce stress. I’ve seen how Orwell enjoys nosing around small obstacles; enrichment like varied textures and hiding spots makes their world richer and supports mental well-being, just like a mini adventure zone.
- Include multiple hiding places for security
- Introduce shallow water dishes for soaking and play
- Rotate toys or rearrange decor monthly to spark curiosity
Species-Specific Hatchling Considerations
Aquatic vs Land Turtle Differences
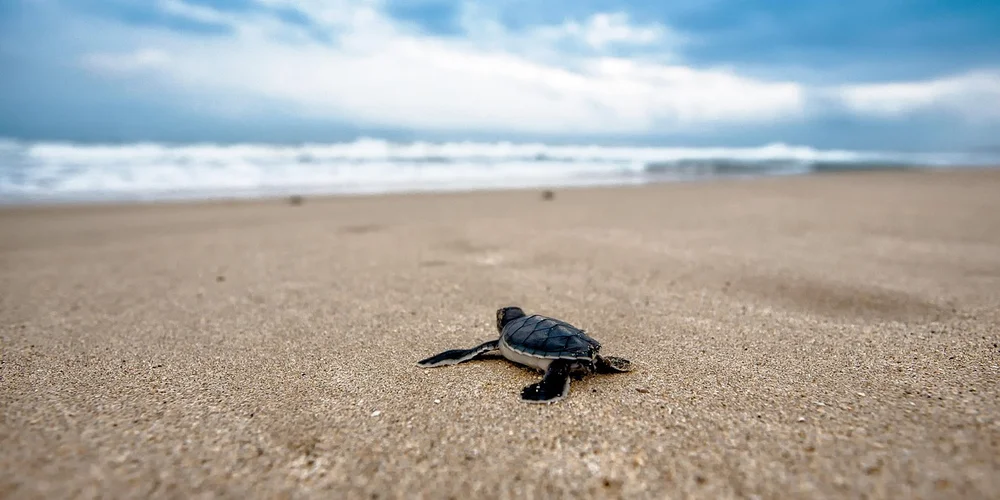
Raising my three distinct turtles has taught me that the “turtle” label is incredibly broad. The single most important factor for a hatchling’s survival is getting its basic environment right from day one. To truly understand the life cycle of sea turtles, you must see how each stage hinges on that early start. These early conditions ripple through later life.
- Aquatic hatchlings, like sliders, need a setup that’s mostly water with a dry basking platform. Land-dwelling species, like my Russian tortoise Austen, require a terrarium with deep, dry substrate for burrowing and minimal, shallow water dishes.
- Temperature needs are not one-size-fits-all. Basking spots for aquatic species often need to be a bit warmer (around 90-95°F) to dry their shells completely, while land species like my Greek tortoise Bronte prefer a slightly cooler basking zone (85-90°F).
- Behaviorally, aquatic babies are born swimmers, often hiding in water plants. Land hatchlings are natural diggers and feel secure burrowed into their substrate, a behavior I see every evening with Orwell, my box turtle.
Social Housing Decisions
This is a topic I feel strongly about after years of observation. My general advice is to house hatchlings individually, as it eliminates competition for food and basking spots and drastically reduces stress.
- Solo housing guarantees each hatchling gets the exact nutrition and heat it needs without bullying. Group housing can sometimes encourage natural behaviors but requires a massive enclosure to succeed.
- Compatible combinations are rare and species-specific. Never mix species due to different disease risks and care requirements. Even similar-sized turtles of the same species can turn aggressive as they mature.
- Signs of crowding are subtle but serious. Watch for one turtle consistently avoiding food, being denied the basking area, or showing shell nips. Constant hiding is a major red flag for chronic stress.
Planning for Growth and Habitat Upgrades
Monitoring Development Milestones
Watching a hatchling turtle grow is one of the most rewarding parts of being a keeper. I remember tracking my Russian tortoise, Austen, with a simple kitchen scale and a notebook. Consistent weekly weigh-ins and shell measurements give you a clear picture of their health and development. A healthy hatchling should show steady, gradual growth; any sudden stops or drops are a signal to check your husbandry.
You will know the enclosure is getting too small long before your turtle seems “squished.” Watch for repetitive behaviors like constantly pacing the same glass wall or struggling to turn around comfortably. The most telling sign is when your turtle’s shell length approaches half the length of its tank. For my Greek tortoise, Bronte, that was the moment I knew her starter home was no longer sufficient. It is a common mistake to underestimate the size requirements for terrestrial turtles or tortoises, which many owners make early on.
When upgrade time arrives, make the transition as stress-free as possible. I never just plop a turtle into a brand-new, sterile environment. I always move over a significant portion of the established substrate and decorations from the old tank to the new one. This transfers the familiar, beneficial bacteria and scents, helping your turtle feel at home immediately. Keep the feeding and lighting schedule identical during the move.
Long-Term Habitat Planning
Thinking ahead saves you money and prevents last-minute scrambles. A hatchling that fits in the palm of your hand can grow into a substantial animal. Anticipating their adult size from the start helps you invest in equipment you won’t have to replace in six months. My box turtle, Orwell, started in a 20-gallon tank, but I always knew his final home would be a custom-built 4×2 foot enclosure.
Your initial equipment will need upgrades, too. That small, gentle filter won’t handle the bioload of a growing turtle. Essential filtration systems keep turtle water clean by removing waste and maintaining stable water quality. Plan to upgrade your filtration system to one rated for at least twice the volume of your eventual adult-sized tank. The same goes for your heating and UVB lamps; as the tank gets taller and wider, you need more powerful bulbs to maintain the correct temperature and UV gradients at shell level.
Your care routines will naturally evolve as your turtle matures. Hatchlings often need daily soaks for hydration, while my adult turtles only need them once or twice a week. Their diet will also shift, requiring less protein and more fibrous vegetation as they age. Observing these subtle changes and adapting your care is what transforms a novice into a true turtle guardian. All of this ties into the essential turtle tank setup and a complete daily, weekly, monthly care guide. Following that routine helps keep the habitat safe and your turtle thriving.
FAQs
What are common safety hazards in a hatchling turtle enclosure?
Common hazards include sharp decorations that can cut delicate skin or shells and unsecured equipment like heaters that may cause burns or electrical issues. Always check for small gaps where hatchlings could get trapped and ensure all items are stable to prevent tipping or injury.
How should you handle hatchling turtles to minimize stress?
Use gentle, slow movements and support their entire body with clean, damp hands to avoid dropping or squeezing them. Keep handling sessions brief and infrequent, and always wash your hands before and after to reduce the risk of transmitting bacteria or causing anxiety.
What water quality parameters matter most for hatchling turtles (pH, ammonia, nitrites, nitrates)?
Ammonia and nitrites are the most critical and must be kept at zero, as even low levels can be toxic to hatchlings. Maintain a stable pH around 6.5 to 8.0 and control nitrates through regular water changes to support a healthy aquatic environment.
Your Turtle Care Adventure Continues
From my time with hatchlings like Orwell, I’ve seen that maintaining proper incubator conditions and a gradual move to a well-set tank are vital for their health. Consistent monitoring of temperature and diet helps your tiny turtle thrive from day one.
Caring for a pet turtle is a long-term commitment that demands your attention to their evolving needs. Always seek out new knowledge and connect with fellow enthusiasts to ensure your shelled friend lives a full, happy life. This essential turtle care guide for land and aquatic turtles provides practical tips on housing, nutrition, and daily care to help you meet those needs.
Further Reading & Sources
- r/turtle on Reddit: help. Tips on how to care for baby turtle’s? My mother came to me with some baby turtles today saying she got them from an Asian women in the streets. Now they’re home with me but I don’t have a clue what species they are or how to care for them. Any tips?
- how to care for a hatchling red ear slider ? – EMERGENCY CARE – Turtle Forum
- A Step-by-step Guide to Caring for Your Baby Turtle | PawTracks
- Care Tips for New Hatchling Turtle: Q&A Guide
Matthew is a dedicated turtle enthusiast and conservationist with over 15 years of experience in reptile care. Known affectionately as "The Leatherback" among his peers, he combines his passion for turtles with a commitment to educating pet owners on responsible turtle care and environmental stewardship.
Egg Care