How to Create a Naturalistic Turtle Habitat with Proper Decor
Published on: December 24, 2025 | Last Updated: December 24, 2025
Written By: Matthew The
Creating a home for your turtle that’s both beautiful and enriching can feel overwhelming, but moving beyond a simple, sterile tank is one of the most rewarding things you can do for their well-being.
I’ve spent years crafting habitats for my own shelled companions, like my thoughtful Greek tortoise, Bronte, and I’ve seen firsthand how the right environment sparks natural behaviors and reduces stress.
In this guide, we will cover selecting the right substrate, choosing safe and stimulating plants, incorporating essential hiding spots, setting up proper lighting gradients, and integrating water features for aquatic species.
Understanding Naturalistic Turtle Habitats
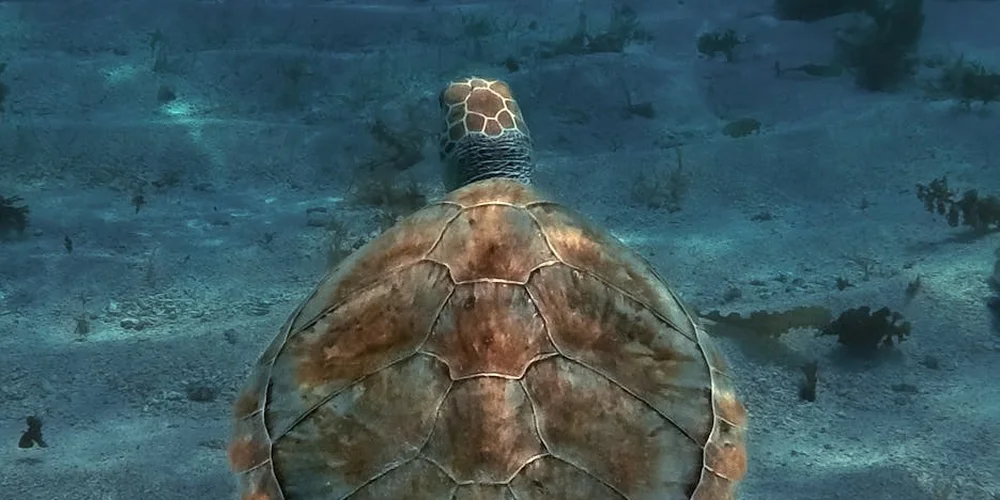
A naturalistic habitat replicates a turtle’s wild environment inside their enclosure, using elements like live plants, varied substrates, and hiding spots. This setup encourages turtles to express instinctual behaviors, reducing stress and promoting overall wellness. I’ve seen my Russian Tortoise, Austen, become more active and curious when his space feels like home. Such habitat design is a core principle in care guides for land and aquatic turtle care. It helps owners recreate safe, stimulating environments that support natural behaviors.
Terrariums focus on land-dwelling creatures, vivariums blend plants and animals for a mini-ecosystem, and turtle enclosures are tailored for species needing both water and dry areas. Choosing the right type ensures your turtle thrives, not just survives, in their space. For semi-aquatic turtles like Orwell, my Box Turtle, a balanced setup prevents health issues.
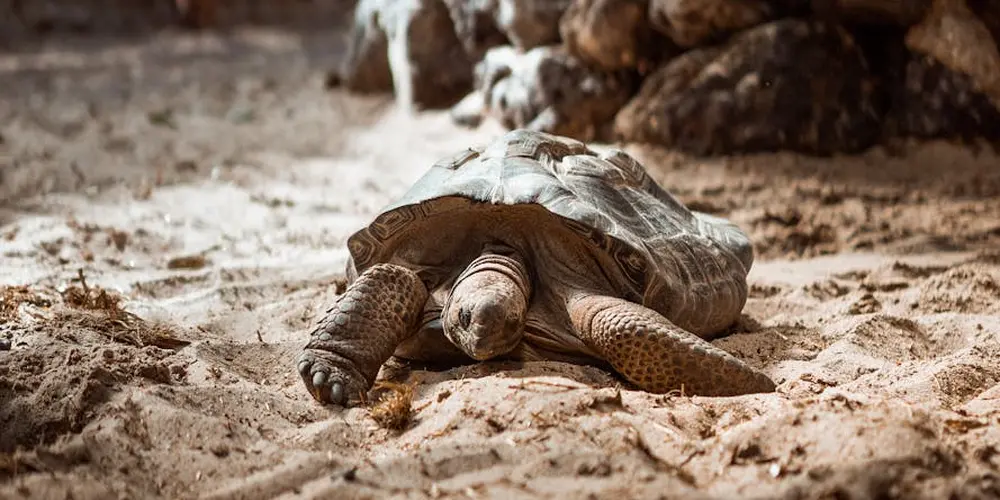
Watching Bronte, my Greek Tortoise, navigate a rocky slope I added showed me how enrichment sparks exploration. Her graceful movements through the textured terrain reminded me that a stimulating habitat keeps turtles mentally sharp and physically fit. Simple changes, like adding driftwood, can transform their daily routine.
Choosing the Right Enclosure and Size
Select a tank that allows your turtle to grow and move freely—aim for at least 10 gallons per inch of shell length for aquatic types. Choosing the perfect tank size and shape for your aquatic turtle helps them thrive. Oversizing the enclosure from the start saves you from frequent upgrades and gives your turtle room to roam. I learned this with Austen, whose steady growth meant his first tank was too small within a year.
Water depth matters for swimmers; provide enough for diving, while semi-aquatic species need a dry basking spot. Balancing land and water areas mimics their natural habitat, supporting behaviors like sunning and foraging. For Orwell, I ensured his land section was spacious enough for digging and resting.
- Opt for glass or acrylic tanks-they’re durable and easy to clean.
- Use non-toxic substrates like river sand or coconut coir for safety.
- Include a secure lid to prevent escapes and maintain humidity.
Setting up Bronte’s enclosure with smooth rocks and shallow water made maintenance simple and kept her engaged. Investing in quality materials upfront reduces long-term hassle and supports your turtle’s welfare. Regular checks for wear and tear help the habitat stay safe and functional.
Selecting Safe Substrates and Decor
Substrate Options for Your Turtle Enclosure
Choosing the right floor for your turtle’s home is a foundational decision. I’ve experimented with many substrates over the years with my own shelled friends, Austen and Bronte, and learned what truly works.
- Play Sand: Soft and natural for digging. It can compact over time and requires regular sifting to stay clean. Perfect for species that love to burrow.
- Large, Smooth River Gravel: Easy to clean and prevents accidental ingestion. It doesn’t hold humidity well and offers no digging opportunities. I use this in Orwell’s soaking area for stable footing.
- Organic Topsoil & Coco Coir Mix: My personal favorite for a bioactive setup. It holds humidity beautifully and supports live plants. The downside is it can be messy and requires more maintenance to prevent mold.
The substrate you choose directly shapes the enclosure’s humidity and satisfies your turtle’s instinct to dig and explore. A deep, loose substrate encourages natural behaviors you’ll love to watch.
Always source materials labeled as chemical-free and reptile-safe. I learned this the hard way with a bag of soil that made Bronte lethargic. Non-toxic substrates are non-negotiable for preventing serious health issues like impaction or poisoning. When in doubt, bake soil in the oven to sterilize it.
Decor Elements for Enrichment and Safety
Decor isn’t just about aesthetics; it’s about creating a stimulating and secure environment. Think of it as designing a miniature landscape for your pet to thrive in.
I’ve found that a combination of these items keeps my turtles engaged and content.
- Driftwood: Provides climbing structures and basking spots. Soak it thoroughly before use to waterlog it and prevent floating.
- Large, Flat Rocks: Excellent for basking and wearing down nails naturally. Ensure they are too heavy for your turtle to move or tip over.
- Half-Log Caves or Ceramic Hideaways: Crucial for providing secure hiding spots. Turtles, especially reserved ones like Orwell, need private areas to feel safe and reduce stress.
Anchoring decor with an aquarium-safe silicone sealant prevents accidental collapses that could injure your turtle. I always let any sealed items cure for at least 48 hours before placing them back in the habitat.
Run your hands over every item you introduce. Vigilantly avoid anything with sharp edges or small, swallowable parts that could cause internal harm or shell damage. If it feels risky to you, it’s definitely not safe for your turtle.
Setting Up Proper Lighting and Heating
Lighting and heating are the sun and climate of your turtle’s indoor world. Getting this right is what transforms a tank into a habitat.
UVB lighting is absolutely critical for your turtle to synthesize vitamin D3, which allows them to absorb calcium for strong bones and a healthy shell. UVB light is especially important for turtles. Without it, they can develop metabolic bone disease, a painful and preventable condition. A heat lamp creates a vital basking area where your turtle can raise its internal body temperature to properly digest food and maintain its immune system.
You must create a thermal gradient. Position your heat lamp at one end of the enclosure to create a warm basking zone (85-90°F for most species) and leave the opposite end cooler (70-75°F). This allows your turtle to self-regulate its temperature by moving around, just as it would in nature. Be mindful of common enclosure mistakes—avoid placing heat sources too close or creating an uneven gradient. Get the gradient right to prevent overheating and stress.
Managing humidity involves a balance of substrate choice, water area size, and sometimes a mister. My Russian tortoises, who need lower humidity, thrive with a shallow water dish and well-ventilated enclosure, while my box turtle enjoys a more humid hide.
Establishing a consistent daily rhythm is simple and effective.
- Mount your UVB and heat lamps securely over the basking area.
- Plug them into an automatic timer.
- Set the timer for a 12-hour on, 12-hour off cycle to mimic a natural day and night.
This consistent cycle supports their natural circadian rhythms, promoting healthy activity, feeding, and rest periods. Waking up to a “sunrise” every day is a small change that makes a huge difference in their well-being.
Incorporating Plants and Basking Areas

Choosing Turtle-Safe Aquatic Plants
Your first big choice is between live and artificial plants, and each has its own charm and challenges. I always lean towards live plants because they actively help filter the water and make the habitat feel truly alive. Artificial plants are undeniably easier, requiring no special lighting or care, but they don’t contribute to the ecosystem like their living counterparts do.
- Live vs. Artificial: Live plants improve water quality and provide enrichment, while artificial plants offer zero maintenance and guaranteed durability against even the most determined turtle.
- Non-Toxic Species: Stick with hardy, fast-growing plants. Anacharis, Java Fern, and Amazon Sword are my top picks. They can handle a bit of nibbling and are completely safe if ingested.
- Durability and Nibbling: My Russian tortoise, Austen, is a gentle grazer, but my box turtle Orwell will uproot anything not anchored down. I’ve found that attaching Java Fern to driftwood or rocks keeps it secure and out of reach of curious mouths. Expect some pruning; it’s a sign of a happy, interactive turtle.
Designing Effective Basking Spots and Platforms
A proper basking area is your turtle’s personal sun deck, and its design is critical for their well-being. A good basking spot isn’t just about heat; it’s a place where your turtle feels completely secure to dry off and regulate its body temperature. To create the perfect basking area for your aquatic turtle, place a dry, flat or slightly sloped platform under a safe heat source just above the water. Install an easy-access ramp so your turtle can climb onto it comfortably.
- Platform Selection: You can buy floating docks or build your own with slate tiles and aquarium-safe silicone. The goal is a textured, easy-to-climb surface that stays firmly in place.
- Naturalistic Touches: I love using a combination of large, flat rocks and sturdy pieces of driftwood to create a multi-level basking area. This gives my turtles, like the graceful Bronte, options to choose their perfect spot, whether they want to be fully exposed or slightly shaded.
- Safety and Access: Ensure the ramp or approach has a gentle slope and a rough texture for grip. A wobbly platform is a source of stress and can lead to your turtle avoiding it altogether, which impacts their health.
Ensuring Water Quality and Filtration
Clean water is the foundation of a healthy turtle habitat. Turtles are messy creatures, and a robust filtration system is non-negotiable. Think of your filter as the habitat’s kidneys, working constantly to remove waste and keep the environment stable.
- Filtration Systems: For most turtle setups, a canister filter is your best bet. They offer superior mechanical, chemical, and biological filtration. I use one rated for a tank twice the size of my actual enclosure to handle the heavy bioload.
- Maintenance Steps: Perform partial water changes of 25-50% weekly. Use a water conditioner to remove chlorine. Test water parameters regularly for ammonia, nitrite, and nitrate to catch problems before they affect your turtle’s health.
- Health Benefits: Crystal-clear water isn’t just for looks. Proper filtration significantly reduces the risk of shell rot, skin infections, and respiratory issues, allowing your turtle to live a stress-free and vibrant life. A clean tank means a happy, healthy turtle.
Step-by-Step Guide to Assembling Your Habitat
-
Begin by selecting a stable, draft-free spot for your turtle’s home, away from direct sunlight or noisy areas to reduce stress. I always place enclosures like Austen’s on a sturdy stand in a low-traffic room where he can feel secure and undisturbed. For substrate, layer a base of large, smooth river rocks for drainage, then add a mix of organic topsoil and play sand to mimic their natural environment. This setup prevents waterlogging and allows for natural digging behaviors, which I’ve seen keep my turtles content and active.
-
Install a reliable canister filter to handle waste, as turtles are messy eaters, and pair it with a submersible heater set to 75-80°F for most species. Proper heating and filtration are non-negotiable for preventing illness, something I learned when Bronte’s water quality dipped and her appetite waned. Add a UVB light above the basking area to support shell and bone health, ensuring it’s on a timer for 10-12 hours daily. I use a combo dome fixture for simplicity, and it has made a noticeable difference in Orwell’s energy levels.
-
Strategically place decor like driftwood, slate rocks, and caves to create hiding spots and climbing opportunities, arranging them to break up sightlines and reduce territorial stress. Live plants such as java fern or anubias not only oxygenate the water but also provide enrichment, and I’ve watched Bronte gently nibble on them for hours. Live plants are a beneficial feature in turtle habitats. They help improve water quality and offer natural enrichment. Position a flat basking rock directly under the heat lamp, making it easily accessible and large enough for your turtle to fully stretch out. In my experience, adding varied textures keeps turtles engaged and mimics the complexity of their wild habitats.
-
Fill the enclosure with dechlorinated water to a depth that allows swimming but includes shallow areas for resting, then cycle the tank for 1-2 weeks to establish beneficial bacteria. Cycling is crucial for a healthy ecosystem, and I test water parameters weekly to avoid shocking my turtles with ammonia spikes. This is exactly the step you’ll find in a cycle-your-aquatic-turtle-tank beginner’s guide. Introduce your turtle gradually by floating them in a container within the habitat for 15-20 minutes, then release them gently. I did this with Austen, and his calm adjustment showed me how much less stressful it is for them.
-
Observe your turtle’s behavior daily, noting signs like consistent basking, active foraging, or any hiding that might indicate discomfort. Regular monitoring lets you catch issues early, such as when Orwell’s reduced basking signaled a need for a warmer spot, which I quickly fixed. Adjust water temperature, decor placement, or lighting based on their reactions and habitat checks, like testing pH and ammonia levels. Over time, I’ve fine-tuned each habitat to suit individual personalities, ensuring my turtles thrive in a space that feels like home.
FAQs
How often should I completely replace the substrate in my turtle’s habitat?
Full substrate replacement depends on the type and enclosure size, but generally, do it every 6-12 months to prevent waste buildup. Spot-clean weekly to remove debris and extend the substrate’s life between changes.
What are common signs that my turtle is stressed due to its habitat setup?
Watch for behaviors like excessive hiding, refusal to eat, or frantic swimming, which can indicate discomfort. Adjusting decor, lighting, or water quality often resolves these issues and helps your turtle feel secure. If these signs persist, you may be wondering how to tell if your turtle is sick. Consider a visit to a reptile veterinarian to rule out illness and get tailored care.
Can I use sand from a local beach or garden in my turtle’s enclosure?
Avoid using untreated sand from outdoors, as it may contain pollutants, parasites, or sharp particles that harm your turtle. Always opt for commercially available, reptile-safe sand that is sterilized and free of contaminants.
How do I know if the humidity level is correct for my turtle species?
Use a digital hygrometer to monitor humidity, aiming for levels specific to your turtle’s natural habitat, such as 40-60% for arid species. Incorrect humidity can lead to respiratory problems or shell issues, so adjust with misting or ventilation as needed.
What should I do if my turtle shows signs of shell rot or fungal infections?
Improve habitat cleanliness by ensuring dry basking areas and clean water, and consult a veterinarian for proper treatment. Shell issues often stem from poor water quality or inadequate drying spaces, so review your filtration and habitat setup.
Your Turtle’s Naturalistic Sanctuary Awaits
Ultimately, creating a beautiful habitat comes down to thoughtfully replicating nature with a proper substrate, live plants, and secure hiding places. A well-decorated tank isn’t just for looks; it provides the mental and physical enrichment your turtle needs to truly flourish.
Remember, your commitment to building this environment is a wonderful act of responsible pet ownership. Keep observing your turtle’s behavior and continue learning, as this ongoing journey of care is what makes the experience so rewarding for both of you. If you’re just starting out, this care box turtle complete beginners guide will help with enclosure, diet, and daily care. Use it alongside your observations to build a confident routine.
Further Reading & Sources
- Red-Eared Slider Turtle Tank Décor Ideas – ReptiFiles
- 17+ Creative Turtle House Ideas for Your Home
- Turtle Habitat for Baby Turtles | Homemade Turtle Garden : 18 Steps (with Pictures) – Instructables
- r/turtle on Reddit: Self sustaining turtle tank habitat?
Matthew is a dedicated turtle enthusiast and conservationist with over 15 years of experience in reptile care. Known affectionately as "The Leatherback" among his peers, he combines his passion for turtles with a commitment to educating pet owners on responsible turtle care and environmental stewardship.
Substrate and Flooring