Before You Buy: A 7-Day Research Checklist for Prospective Turtle Owners
Published on: March 3, 2026 | Last Updated: March 3, 2026
Written By: Matthew The
Thinking about bringing a turtle into your life? You might feel a mix of excitement and worry over the long-term commitment, costs, and whether you can provide the right care. I’ve cared for my own turtles-Austen, Bronte, and Orwell-for years, and I know that skipping research can lead to stress for both you and your future pet.
This article walks you through a daily plan covering species research, budget setup, habitat needs, feeding routines, health care, legal considerations, and final decision-making.
Day 1: Assess Your Readiness for Turtle Care
Bringing a turtle home is a profound lifestyle change, not just a new purchase. You are committing to a creature that might outlive your current car, job, and possibly even your mortgage. I learned this the hard way when my Russian tortoise, Austen, needed specialized veterinary care I hadn’t budgeted for.
Start by honestly evaluating your daily life. Ask yourself these key questions about your routine, finances, and time.
- Do you have 30-60 minutes daily for feeding, tank maintenance, and social interaction?
- Can you allocate $500-$1000 upfront for a proper enclosure, lighting, and filter?
- Are you prepared for ongoing costs of $20-$50 monthly for food, substrate, and electricity?
- Does your living space have a permanent spot for a large tank or tortoise table?
- Who will care for your turtle during vacations or unexpected life events?
This is the reality check many prospective owners overlook. My Greek tortoise, Bronte, is 12 years old and could easily live another 40 years. Turtles are not short-term pets. Their care is a marathon, not a sprint. Your life will look dramatically different in a decade. Ensure a turtle fits into that long-term vision.
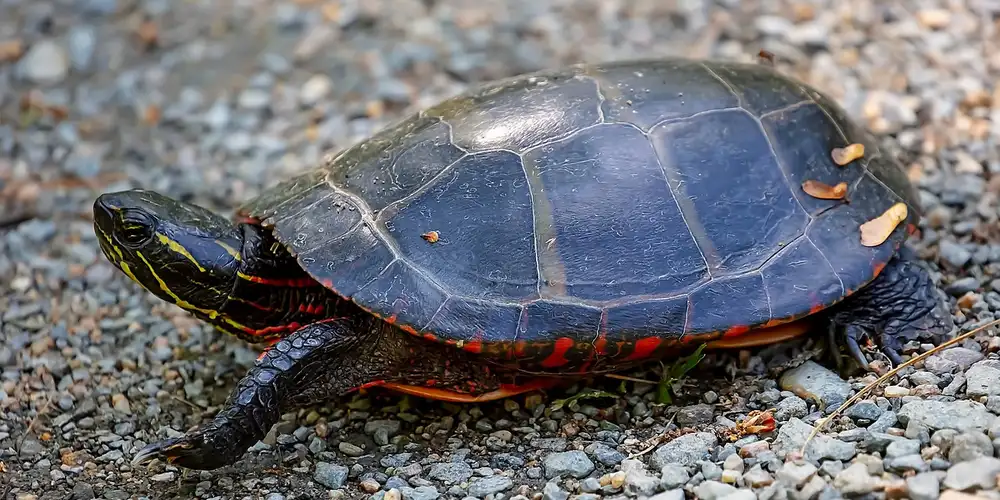
Day 2: Explore Turtle Species and Their Needs

Not all turtles are the same. Choosing the right species is the single most important decision you will make. Picking a turtle based solely on its cute hatchling size is the most common mistake I see. There are several key factors to consider when choosing a turtle species: space, climate, diet, lifespan, and care requirements. Considering these will help you pick a species that fits your home and lifestyle. My box turtle, Orwell, started in a small tank but now roams a custom-built indoor enclosure.
Here is a breakdown of popular pet turtles and their core characteristics.
- Russian Tortoise: Adult size of 6-8 inches. Terrestrial. Requires a dry, spacious tortoise table with UVB lighting. Gentle temperament, ideal for beginners with enough floor space.
- Greek Tortoise: Reaches 6-10 inches. Terrestrial. Needs a similar setup to the Russian but often enjoys more climbing opportunities. Graceful and thoughtful, but can be shy.
- Box Turtle: Grows to 4-7 inches. Semi-terrestrial. Requires a humid, bioactive enclosure with both land and shallow water areas. Reserved and intelligent, rewarding for an intermediate keeper.
- Red-Eared Slider: Can grow to 12 inches. Aquatic. Demands a very large tank (75+ gallons) with powerful filtration and a dedicated basking area. Active and engaging, but a major commitment.
Follow these steps to match a species with your environment and experience.
- Measure your available space. An aquatic turtle needs a massive tank; a tortoise needs a wide, secure table.
- Be brutally honest about your experience. Start with a hardy, smaller species if you are new to reptiles.
- Research the adult size, not the baby size. A 4-inch slider becomes a 12-inch turtle needing a small pond’s worth of space.
- Consider temperament. Do you want an active turtle to watch, or a more observational, slow-moving tortoise?
The right match creates a harmonious life for both you and your shelled companion for decades to come. My tortoises have different personalities and needs, and respecting those differences is the heart of good care.
Day 3: Plan Your Turtle Habitat and Enclosure Setup
This is where your turtle’s world takes shape. A proper habitat isn’t just a box of water; it’s a complete, life-sustaining ecosystem you are responsible for building.
Your Essential Habitat Checklist
- Tank Size: Start with at least a 40-gallon breeder tank for a young turtle, but plan for an adult enclosure of 75-120 gallons. My Russian tortoise, Austen, thrives in a spacious custom-built table.
- Filtration: Use a canister filter rated for 2-3 times your tank’s volume. Turtles are messy, and weak filters lead to cloudy, unhealthy water.
- Heating: You need both a water heater to maintain 75-80°F and a basking area heat lamp that creates a surface temperature of 90-95°F.
- Substrate: For aquatic turtles, large, smooth river rocks are safe. For tortoises like my Bronte, a mix of topsoil and play sand works perfectly for digging.
The Non-Negotiable Role of UVB and Temperature
This is the part most new owners underestimate. UVB lighting is not optional; it’s as vital as food and water for your turtle’s long-term health. Without it, they cannot metabolize calcium, leading to metabolic bone disease, a soft, deformed shell, and a shortened life. Setting it up correctly is critical because turtles rely on UVB to synthesize vitamin D3 for calcium absorption. A proper setup—correct bulb type, placement, and timely replacement—keeps them healthy and thriving.
You must also create a temperature gradient.
- The basking spot should be the hottest area, under the heat lamp.
- The water or opposite end of the enclosure should be cooler.
- This gradient lets your turtle self-regulate its body temperature, just as it would in the wild.
Your Habitat Assembly Timeline
Do not set up the tank the day you bring your turtle home. The process of “cycling” the tank to grow beneficial bacteria takes time and is critical for your pet’s health. You can follow these steps to properly cycle your aquatic turtle tank.
- Week 1-2: Assemble all equipment-tank, filter, heaters, lights, substrate. Set it up and run it without a turtle.
- Week 3-6: Begin the nitrogen cycle. You’ll need a water test kit to monitor ammonia and nitrite levels until they drop to zero. This establishes the biological filter.
- Day of Purchase: Only after the tank is fully cycled and stable is it safe to introduce your new turtle.
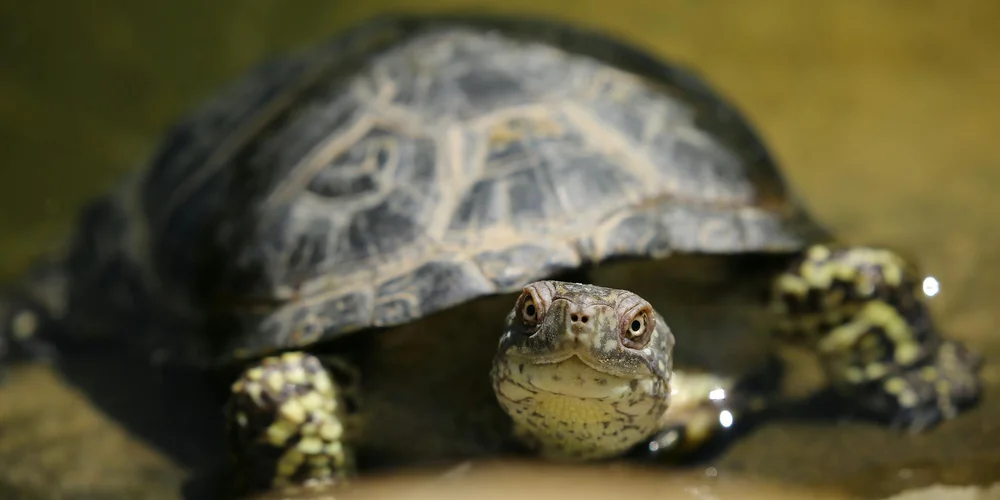
Day 4: Understand Diet and Ongoing Turtle Health
Feeding a turtle is more complex than dropping in pellet food. A monotonous diet is a fast track to nutritional deficiencies and health problems. My tortoises, for instance, enjoy a varied salad nearly every day.
A Balanced Diet Plan
The exact menu depends on your turtle’s species and age.
- For Aquatic Turtles: A mix of high-quality commercial pellets, leafy greens (romaine, dandelion), and occasional protein like earthworms or feeder fish.
- For Tortoises (like my Greek tortoise, Bronte): A diet of dark, leafy greens (collard, mustard, turnip), grasses, hay, and edible flowers. No fruit for most species.
- For Box Turtles (like Orwell): An omnivorous mix of 50% protein (slugs, snails, worms) and 50% vegetables and fruits.
Always research your specific species, as a Russian tortoise’s needs are vastly different from a Red-Eared Slider’s.
Common Health Issues and Prevention
Most turtle health problems are preventable with proper care.
- Shell Rot: Caused by dirty living conditions or insufficient basking areas. Prevent it with clean water, a dry basking spot, and a full-spectrum UVB lamp.
- Respiratory Infections: Often due to incorrect temperatures or drafts. Maintain a consistent, proper temperature gradient in the habitat.
- Metabolic Bone Disease: The direct result of no UVB light and poor diet. This is entirely preventable with the right equipment and calcium supplementation.
Finding a Vet and Budgeting for Care
Not all vets treat reptiles. You must locate a qualified reptile veterinarian *before* you have an emergency. A simple check-up can cost $75-$150, while complex procedures can run into the hundreds.
- Search the Association of Reptilian and Amphibian Veterinarians (ARAV) website for a specialist near you.
- Call and confirm they see your specific type of turtle.
- Start a dedicated savings fund for pet care. I put a small amount aside each month for Austen and Bronte, and it has saved me from stress more than once.
Day 5: Research Legal Considerations and Sourcing Your Turtle
-
Checklist for local regulations and permit requirements.
Start by digging into your area’s specific rules. Many places have hidden laws about keeping turtles, so a quick online search isn’t enough. I learned this the hard way when I almost brought home a species that was restricted in my county.
- Contact your state’s fish and wildlife agency directly by phone or email.
- Ask about bans on certain species, like some box turtles or tortoises.
- Check if you need a permit for ownership, breeding, or transport.
- Verify housing requirements, such as enclosure size or outdoor access.
- Look into any annual fees or inspection mandates.
-
Compare the pros and cons of rescue versus purchase.
This decision shapes your turtle’s future and your experience. Rescuing often feels more rewarding because you’re giving a second chance to an animal in need. My box turtle, Orwell, came from a rescue, and his thoughtful personality shines in a stable home.
- Rescue pros: Lower cost, adult turtles may have settled temperaments, you support animal welfare.
- Rescue cons: Potential health issues from past neglect, limited choice in species or age.
- Purchase pros: Access to specific breeds like Russian or Greek tortoises, younger animals for longer companionship.
- Purchase cons: Higher initial cost, risk of supporting unethical breeders if not careful.
-
Guidance on identifying reputable breeders or rescue organizations.
Trust your instincts and ask detailed questions. A good source will happily share care records and let you visit their facilities. When I found Bronte’s breeder, they spent over an hour explaining her Greek tortoise needs.
- For breeders: Look for clean, spacious enclosures; request health guarantees and lineage details.
- For rescues: Check online reviews and affiliations with vet clinics; ensure they provide post-adoption support.
- Red flags: Avoid places that can’t answer basic care questions or have multiple sick animals.
- Always meet the turtle first to observe its behavior and environment.
Day 6: Calculate the True Cost of Turtle Ownership
-
Itemized list of upfront costs for equipment and the turtle.
Setting up a proper habitat requires more than just a tank. Investing in quality equipment from the start prevents costly fixes later. My initial setup for Austen, my Russian tortoise, totaled around $600, but it’s lasted years.
- Enclosure: $100-400 for a tank or custom-built pen.
- Heating and lighting: $50-150 for lamps, bulbs, and thermostats.
- Filter and water system: $30-100, depending on tank size.
- Substrate and decorations: $20-60 for bedding, hides, and plants.
- The turtle itself: $50-300, varying by species and source.
-
Breakdown of recurring expenses for food, utilities, and maintenance.
Monthly costs add up faster than you might think. Budget for surprises like vet visits or equipment replacements to avoid stress. With three turtles, I set aside $50 monthly for food and supplies. That’s why I’m building an emergency fund specifically for turtle vet care. It ensures I can cover urgent injuries or illnesses without disrupting other expenses.
- Food: $15-40 per month for fresh veggies, pellets, and supplements.
- Utilities: $10-30 monthly for electricity to run heat and UVB lights.
- Maintenance: $20-50 every few months for substrate changes, filter media, and cleaning supplies.
- Healthcare: $50-150 annually for check-ups, plus extra for emergencies.
-
Estimate time commitments for daily and weekly care tasks.
Turtles thrive on routine, so consistency is key. Dedicating time each day keeps your pet healthy and strengthens your bond. I spend about 20 minutes daily with my crew, and it’s become a peaceful part of my morning.
- Daily tasks: 10-30 minutes for feeding, water checks, and quick clean-ups.
- Weekly duties: 1-2 hours for deep cleaning, water changes, and habitat inspections.
- Seasonal efforts: Extra time for outdoor enclosure maintenance or hibernation prep if applicable.
Day 7: Finalize Your Preparation and Acclimation Plan

Steps for Quarantine and Initial Habitat Introduction
Start by setting up a separate quarantine tank away from your main habitat to prevent potential illness spread. I always use a simple plastic tub with a heat lamp and hide for new arrivals like Bronte, my Greek tortoise, to monitor her health closely for two weeks. This step protects your existing pets and gives the newcomer a stress-free start.
Observe your turtle daily for signs of lethargy, runny nose, or shell issues during quarantine. Gradually introduce them to the main enclosure by placing them in for short periods, increasing time as they show comfort, just as I did with Austen, my Russian tortoise, who took a few days to explore confidently. Keep handling minimal to reduce stress and let them adjust at their own pace. Remember to check for common enclosure mistakes during the setup.
Guide to First Feeding and Monitoring Adjustment
Offer small, familiar foods like leafy greens or commercial pellets during the first feeding to encourage eating. If your turtle isn’t eating, gentle encouragement and consistent offering of familiar foods can help stimulate appetite. Keep a calm, predictable feeding routine to support that effort. Watch for active foraging and normal behavior; Orwell, my box turtle, was reserved initially but perked up when I presented diced veggies in shallow water. Avoid overfeeding and note any refusals, which could signal health concerns.
Monitor your turtle’s adjustment by checking for steady movement, clear eyes, and regular basking. Keep a simple log of eating habits and activity levels to spot changes early, as I’ve found this helps catch issues before they escalate. If they seem stressed, provide extra hides and reduce noise to create a calming environment. If you notice red flags such as persistent lethargy, poor appetite, abnormal breathing, swelling, or shell changes, those are signs your turtle may need to see a veterinarian. When in doubt, seek professional care promptly.
Create a Simple Maintenance Schedule
Establish a routine to keep care consistent and manageable. Daily tasks include checking water quality, offering fresh food, and ensuring temperatures are stable—this basic upkeep has kept my turtles healthy for years. Use this easy list to stay on track without feeling overwhelmed.
- Daily: Feed small portions, spot-clean waste, and verify heat and UV light function.
- Weekly: Change water fully, scrub surfaces, and weigh your turtle to track growth.
- Monthly: Deep-clean the habitat, trim overgrown plants, and inspect equipment for wear.
Adjust the schedule based on your turtle’s needs and your observations. Regular upkeep not only supports their well-being but also strengthens your bond through predictable, gentle care.
FAQs
How do I introduce a new turtle to an existing pet turtle?
Always quarantine the new turtle in a separate enclosure for at least two weeks to monitor for illness. This helps prevent disease spread from a potentially sick turtle to other turtles and pets. Introduce them gradually in a neutral area and watch for signs of aggression before allowing cohabitation.
What should I do if my turtle escapes its enclosure?
Search thoroughly in warm, dark hiding spots, as turtles often seek shelter when lost. Secure the habitat with better locks or covers to prevent future escapes and reduce stress for your pet.
Are there any common household hazards for turtles?
Keep turtles away from electrical cords, toxic plants, and small objects they could accidentally ingest. Ensure their environment is free from drafts, extreme temperatures, and potential predators to maintain safety.
Your Journey with a Turtle Begins with Preparation
This 7-day checklist helps you build a solid foundation, ensuring you have the habitat, supplies, and knowledge ready before your turtle arrives. Proper preparation is the single most important step you can take to prevent future problems and ensure a healthy start for your new shelled friend. In the first week, use our 10 essential tasks checklist to settle your new turtle. This practical guide helps ensure you cover all basics without missing anything crucial.
Caring for a turtle is a rewarding, lifelong commitment that requires your dedication to learning and adapting as they grow. Continue to seek out reputable resources and connect with experienced keepers to provide the most enriching life for your pet.
Further Reading & Sources
- Pet Turtles 101: A Beginner’s Guide to Keeping Turtles and Tortoises | Chewy
- r/turtle on Reddit: New turtle owner!
- How to Take Care of Your Pet Turtle | Greensboro Vet | Guilford-Jamestown Veterinary Hospital
- Thinking of getting a pet turtle? | Humane World for Animals
Matthew is a dedicated turtle enthusiast and conservationist with over 15 years of experience in reptile care. Known affectionately as "The Leatherback" among his peers, he combines his passion for turtles with a commitment to educating pet owners on responsible turtle care and environmental stewardship.
Freshwater vs. Saltwater